Design and simulate your mechanical systems with interactive applications using built-in surface-modeling capabilities and sophisticated optimization routines—one system, one integrated workflow.
Underlying the Mathematica mechanical engineering solution is the world's most accurate symbolic and numeric engine, with highly automated superfunctions for differential equation solving and large-scale eigensystem computation, all with self-checking high-precision arithmetic.
Steps By using the command line, circle and trim shape of an object as shown below.
AutoCAD Tutorial Shuttlecock
Once the object is created, then change the object into polyline by using the pedit command. To change it into a 3D object able to use the Revolve command.
AutoCAD Tutorial Shuttlecock
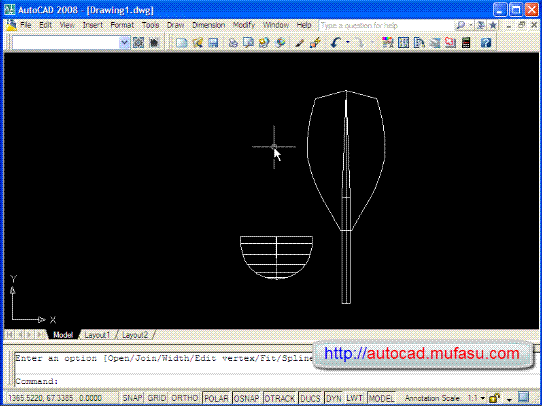
Now we have formed the head of the shuttlecock, the next is to make the feather on the shuttlecock. The trick is almost the same as making the head of the shuttlecock, the first form of a rod and then by using the command line shape of a feather.
AutoCAD Tutorial Shuttlecock
Combine the two objects into one by using the move command. Previously, tilt the bristles at 15-20 degrees.
AutoCAD Tutorial Shuttlecock
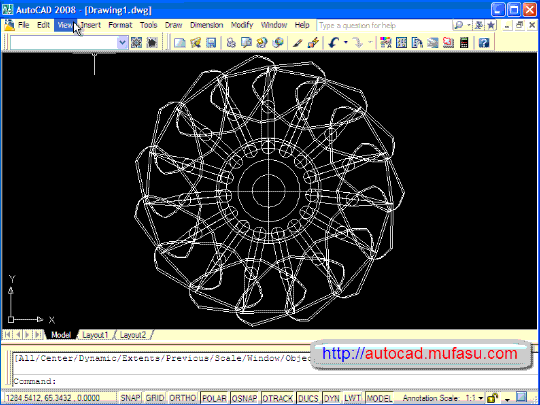
After that, using duplicate array command suttlecock feathers on the head in a circle.
AutoCAD Tutorial Shuttlecock
Setelah objek sudah jadi, lalu ubah objek tersebut menjadi objek polyline dengan menggunakan perintah pedit. Untuk merubah menjadi bentuk 3D dapat menggunakan perintah revolve. To create a binder, can use the command line and Revolve, will be created as shown below.
I'm looking for a free CAD program I can use just to play around with. Doesn't need to be too fancy, I just want one with basic drawing/measuring that I can mess with. Thanks.


I'm looking for a free CAD program I can use just to play around with. Doesn't need to be too fancy, I just want one with basic drawing/measuring that I can mess with. Thanks.
ReplyDeleteSolidworks Training